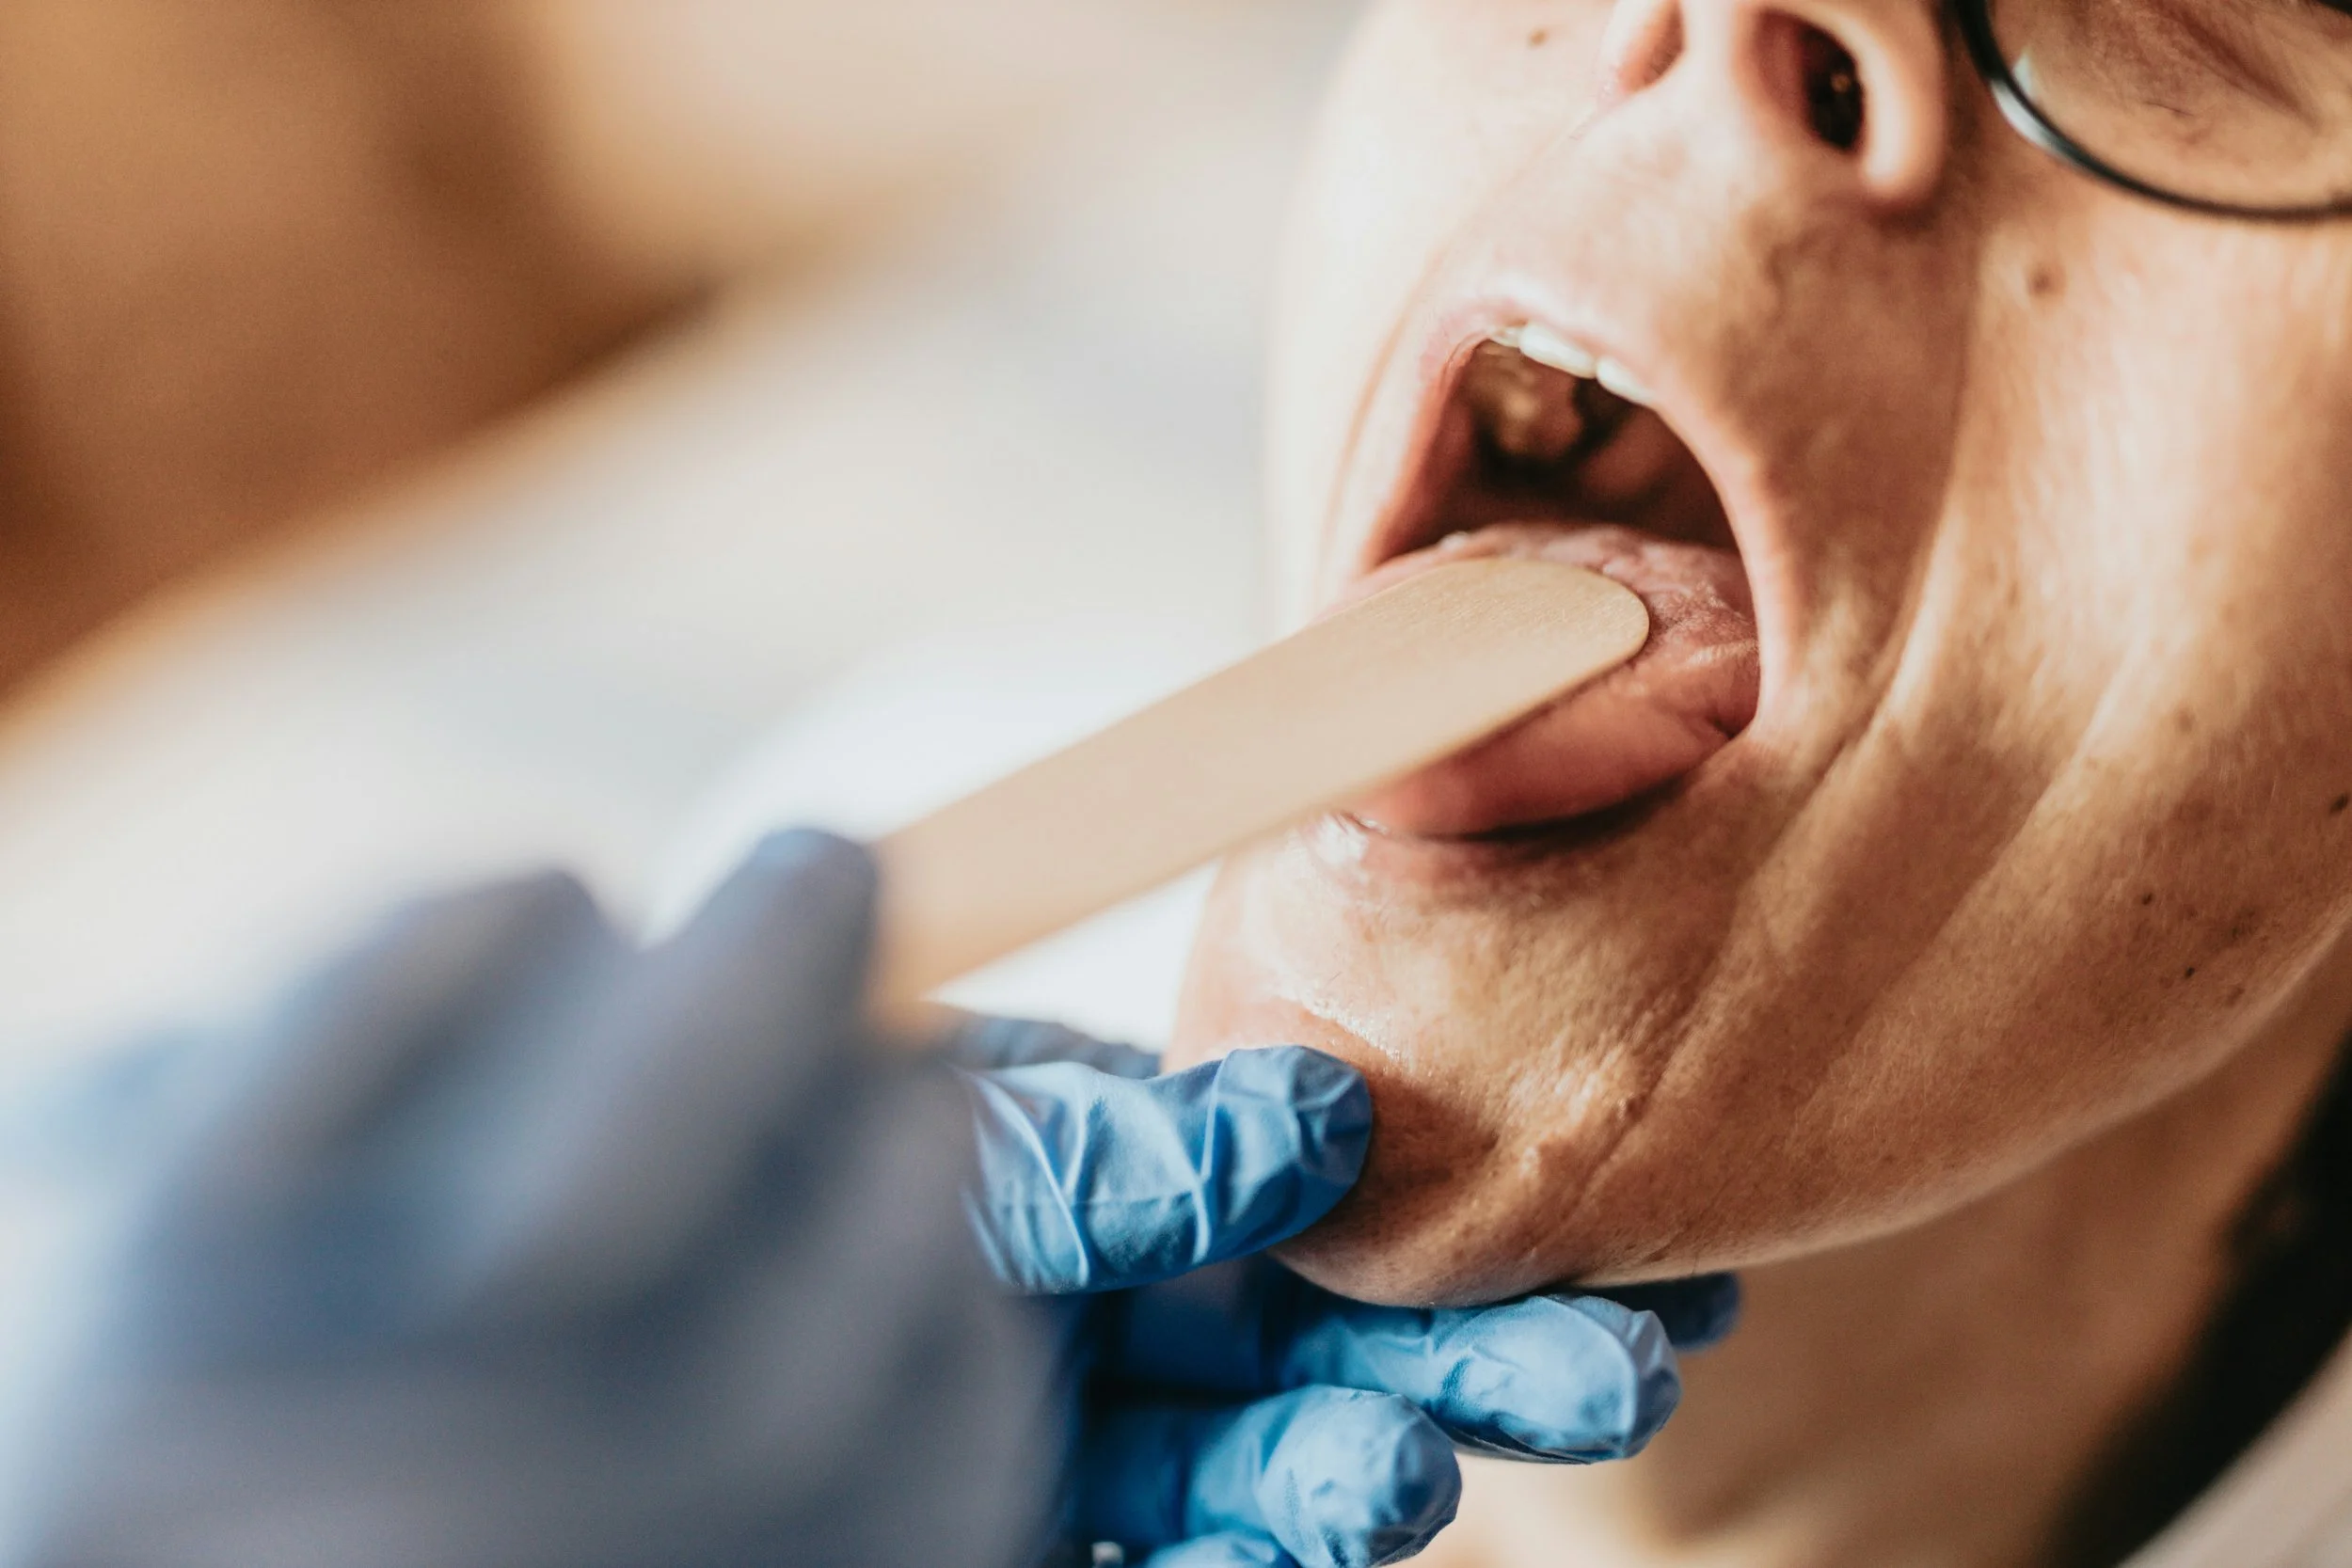
How to do an at-home oral cancer screening
Oral cancer may not get as much attention as other types, but early detection can make a life-saving difference. While professional dental examinations remain the gold standard for screening, you can also perform a quick self-check at home to spot potential warning signs between visits.
Why self-screening matters
Oral cancer can develop in the mouth, tongue, cheeks, gums, lips, or throat. Catching it early often leads to more successful treatment outcomes. A monthly self-check can help you become familiar with what’s normal for your mouth so you’ll notice changes sooner.
Step-by-step at-home screening
Wash your hands – Always start with clean hands to avoid introducing bacteria into your mouth.
Check your lips and gums – Look in the mirror with good lighting. Gently pull your lips outward to examine the inside for lumps, sores, or discoloured patches.
Look at the inside of your cheeks – Pull each cheek aside and look for red, white, or dark spots, as well as any thickened areas.
Examine your tongue – Stick your tongue out and look at the top, sides, and underside. Use gauze or a tissue to hold your tongue for a better view. Watch for unusual lumps, ulcers, or changes in texture.
Inspect the roof and floor of your mouth – Tilt your head back to check the roof, then lift your tongue to examine the floor for swelling, lumps, or sores.
Feel your neck and jawline – Gently press along the sides of your neck and under your jaw for enlarged lymph nodes or unusual lumps.
Warning signs to watch for
Persistent sores that don’t heal within two weeks
Red or white patches
Lumps or thickened tissue
Numbness or pain in the mouth or lips
Difficulty swallowing or speaking
What to do if you find something
An at-home oral cancer screening takes only a few minutes but could help you detect changes early. If you notice anything unusual, schedule a dental or medical appointment right away. Remember — self-screening is a supplement, not a replacement, for professional checkups.

